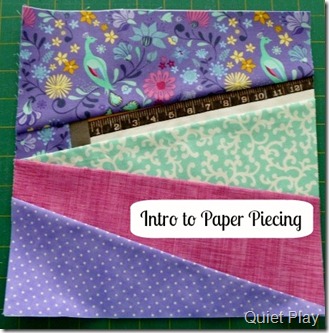
A few things to keep in mind for paper piecing. The right side of your finished block will be the unprinted side of the pattern. But you will sew on the wrong side. Confused? I know it sounds weird. You’ll get the hang of it.
Essentially, you lay your fabric out on the wrong side of the pattern (pin or glue in piece if needsbe), flip the block over and sew on the printed side of the pattern. So your finished block will actually be the reverse of the pattern.
Don’t worry though – once you get your head around which way to lay the fabric and keeping it in place, you’ll be off and running!
Ready? Let’s go!
1. Print off your pattern. Due to the size of the block (10”) the pattern extends over two pages so you’re going to need to tape it together.
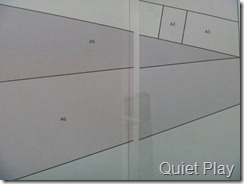
2. Pick out your fabrics. Lay them next to each other so you can see how they work together. I pulled out four different bunches of fabrics before I settled on this combination.
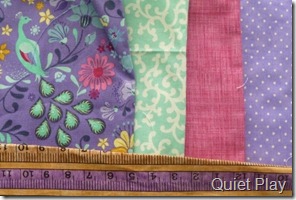
Note: It’s no problem if you don’t have a tape measure fabric to use – just use a solid colour of your choosing and you can embroider or use a marker to add in the tape measure notches later.
3. This is my personal method – others prefer to be more precise. I roughly cut the fabric to the size of the piece it’ll be covering. So you’ll need to plan the order you want your fabric laid out in, lay it over the pattern and roughly cut to size. Some people cut it precisely. I don’t. Yes I end up with scraps but they get saved for future paper piecing.
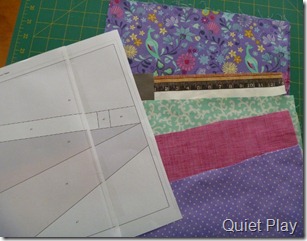
If you are fussy cutting tape measure fabric for this block, it needs to be 1.5” wide.
4. Reduce the stitch length on your machine.
REALLY important! This makes it easier to tear the paper off later.
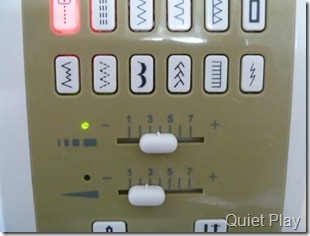
But don’t make it too tiny or you’ll be tearing your hair out if you have to unpick any stitches. My machine normally sits at 5, I adjust it to 4.No idea what that works out to on other machines, it’s just what mine does. Just – smaller stitches folks.
5. Get your first piece of fabric ready – marked A1 on the pattern, it’s the tape measure.
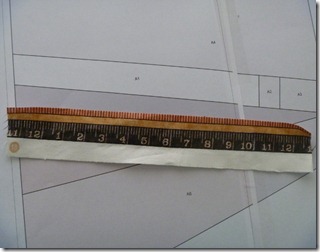
You can see the lines through the paper (hold it up to the light if needs be), line your fabric up so that it covers the lines with seam allowance on each side.I often flip my fabric back a few times to make sure it definitely will cover the lines.
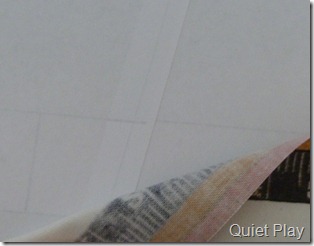
At this point, you might like to use a small bit of glue (gluestick, nothing too goopy) or pins to hold it in place.
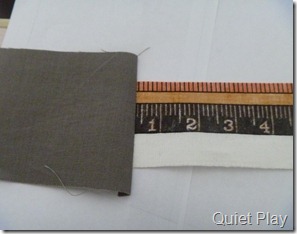
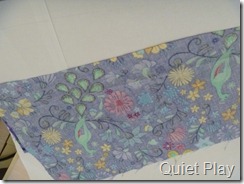
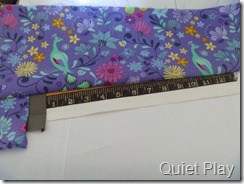
6. Get your fabric for A2 ready – the end of the tape measure. Check where the joining line is between A1 and A2. Place your fabric over that (remembering to leave seam allowance). Your fabric is actually going to flip back over itself to make this side of the pattern the RIGHT side (as in second picture)
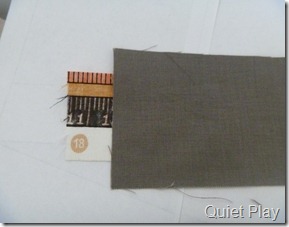
7. Carefully flip the paper and your fabric pieces over (preferably without them moving!) and slide it under the foot of your machine.
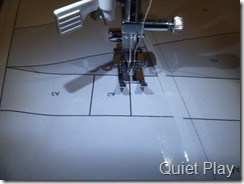
Sew ON the line. I like to backstitch a few stitches at the beginning and end of the line, but that’s personal preference. Try not to sew into the next sections, you just want to sew that little line directly between A1 and A2.
8. Here’s how it will look on the right side.
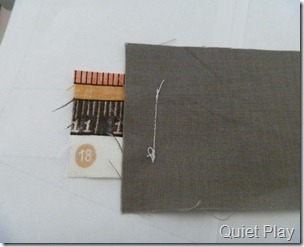
You can see I have extra fabric hanging over the seam allowance on the left hand side. Just use your scissors and trim it back to a quarter inch.
I reversed the direction of the block to cut it, and folded the paper back out of the way.
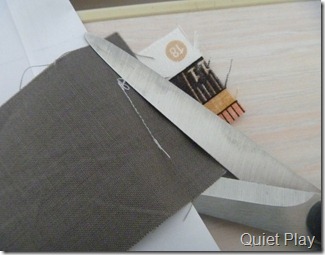
9. Now open out your seam.Finger press it flat, or use a wooden seam roller if you have one. Heck you can even iron it flat if you like. I don’t because my iron isn’t set up near my sewing table and I’m lazy like that.
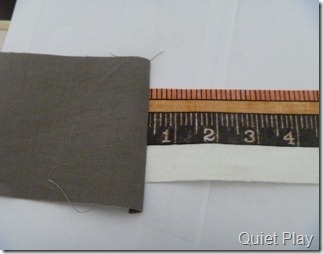
Tada! First seam is done! Now let’s move onto A3.
10. Lay your fabric over the line between A2 and A3. Remember to leave seam allowance.
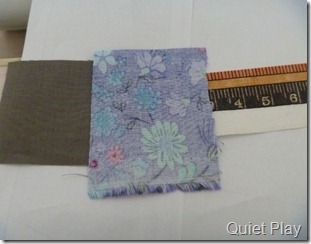
Carefully sew on the line between A2 and A3. Make sure the piece of fabric you’ve sewn up covers the A3 area and seam allowance. Then trim it up like we did earlier.
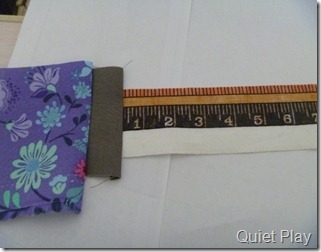
Your block should be starting to look like this now.
11. Now to add the big piece of fabric for the top part of the block (A4). This fabric needs to be the same as the one you used for A3. My print is directional, so when I lay it down in position, it’ll actually be upside down. Once it’s sewn, we’ll flip it back up and it’ll be right.
12. Continue on with the other pieces of fabric. Then your block should be looking something like this:
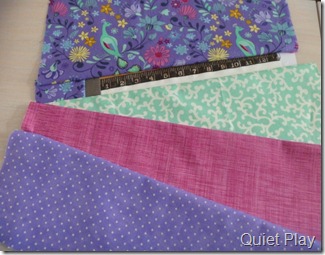
It’s a finished block! But rather untidy yet. Go and iron it into submission.
13. Now we trim it up. Flip it over so you’re looking at the paper side. Make sure all the fabric underneath is lying flat. Then use your ruler and rotary cutter to trim off both paper and fabric. You are cutting the OUTSIDE line now so that will leave you with 1/4” seam allowance around the entire block.
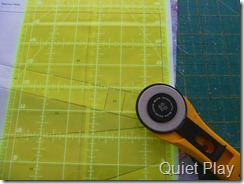
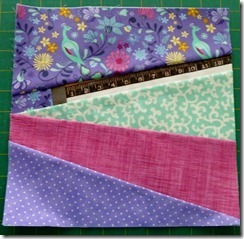
14. Tada! You are done! A paper pieced block! Woohoo!
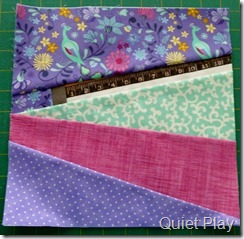
Now you can either remove the paper at this point, or leave it on til all your blocks are done and take it off then. That’s a personal choice. I used to remove my paper right away, but now I tend to leave it til I’m ready to join the blocks together. I feel it keeps the fabric a bit more stable as there may be bias edges in the block.
With many paper pieced blocks, they come in sections – this one was an easy one with just the A section. Next month though we’ll have one that we piece in sections then need to join together. It’s not so hard, you just have to line up the seams. Just wanted to mention that though in case you have the paper piecing bug and want to try out other patterns!
If you’re joining in the And Sew on BoM, make sure you post a photo of your January block in the Flickr group! Can’t wait to see how yours turns out!
And of course, let me know if you have any questions!
Happy paper piecing!


Thank you! I will definitely need this to tackle the first block this week!
ReplyDeleteThanks, this is really useful! I don't think I'll be taking part this time, but paper piecing is on my to-do list this year :D (2013, I mean!)
ReplyDeleteJust printed out my first pattern! Thanks so much for being so generous to share your patterns ~ I've got to find some measuring tape fabric before I can start it. My favorite LQS is having a sale ~ I'm sure she's got something!
ReplyDeleteI just ordered some fabrics from the FQS with sewing items as patterns, lol! So I will definitely be entering a bit later in January since it usually takes up to 3 weeks to get here...
ReplyDeleteHoping to get cracking on this block this week before I head back to work next week! Must think about colour scheme though!
ReplyDeleteJust discovered your BOM series. The January block looks just perfect for a beginner like me (not a lot to sew, so not a lot to mess up!).
ReplyDeleteI'm definitely going to sew along with all of you this month to give paper piecing a try.